By Carol Cichorski, on June 1st, 2011 The month of June, per Edith Holden’s “Country Diary of an Edwardian Lady” …
In the old Latin calendar June was the fourth month. Ovid states that this month received it’s name in honour of Juno, other writers connect the term with the consulate of Junius Brutus. Probably however it has an agricultural reference, and originally denoted the month in which crops grow to ripeness. The Anglo Saxons called it ‘the dry month’, also ‘midsummer month’ and in contradistinction to July ‘the earlier mild month.’ The summer solstice occurs in June.
And from the collection of poetry Ms. Holden has been kind enough to share with us …
For the Rose, ho the Rose! is the eye of the flowers,
Is the blush of the meadows that feel themselves fair,
Is the lightning of beauty that strikes thro’ the bowers,
On pale lovers who sit in the glow unaware.
Ho, the Rose breathes of love! Ho, the Rose lifts the cup
To the red lips of Cypris invoked for a guest;
Ho! the Rose, having curled it’s sweet leaves for the world,
As they laugh to the wind, as it laughs from the west!
E.B.B Trans from Suppho
Whereforth cometh the inspiration to wax poetic? Garden Bloggers’ Muse Day, where Carolyn Choi of Sweet Home and Garden Chicago, invites bloggers to share our favorite poems, songs, verses and quotes about gardening on the first of the month.
By Carol Cichorski, on May 30th, 2011 I’ve been a consumer for a long time. A long time. Yet I still fall prey to smart marketing that sells me the wrong thing. Hard to believe? Its true, and I bet you do it too.
Take annuals for example. As someone who has run garden club plant sales, I know that trays of annuals in bloom sell better than those that aren’t in bloom. Put two trays of annuals on the sales rack and inevitably, the one in bloom will sell faster. The one that is just green may not sell at all.
Which takes us back to me being a consumer. I buy the annuals that are in bloom, even though I know the plant has spent precious energy on buds, energy that could have gone towards building strong root systems. I’ve heard that topping the plants helps redirect the plant’s attention to the roots. But is that true? I posted the question at About.com’s gardening forum, and got these responses:
ScottyBlue, the moderator at the forum said..
Many annuals are tropical plants and as such they grow vigorously. So buying them in bloom is not that big of a deal but it’s still better to get ones with just flower buds. It takes a whole lot of energy for a plant to produce blooms/seeds. It’s like when you women are pregnant. Eating for two kind of thing.
Don’t bother cutting the flowers. It already spent the energy making those flowers. You only cut/pinch them if it’s a flower that will seed. Seeding takes a tremendous amount of energy/food out of the plant. Many annuals have been hybridized so much that they no longer seed.
Flower_lady had this to say…
Deadheading the spent flower is what most people do with their annuals, I don’t think much else is needed. Just go nip the spent flowers off, they will be happy little guys and gals.
Pinching will help to bush out most perennials. Pinching is done before the blooms, like on the mum plants.
I’m told its going to stop raining in Chicagoland today, with a high of 91. So come on sun, rise! I want to get outside to deadhead my annuals and to pinch my mums. I know I’ll only deadhead the annuals once in a while over the summer, but my intentions are good. I also plan to pinch my mums today and once more before the 4th of July. This will give them time to get bushy this spring/summer and flower-full this fall.
I will also make a conscious effort next year to follow Scotty’s advice to buy the plants that are not yet in bloom. I will be a smart consumer. I will. I will.
By Mike and Carol Cichorski, on May 25th, 2011 Want this?
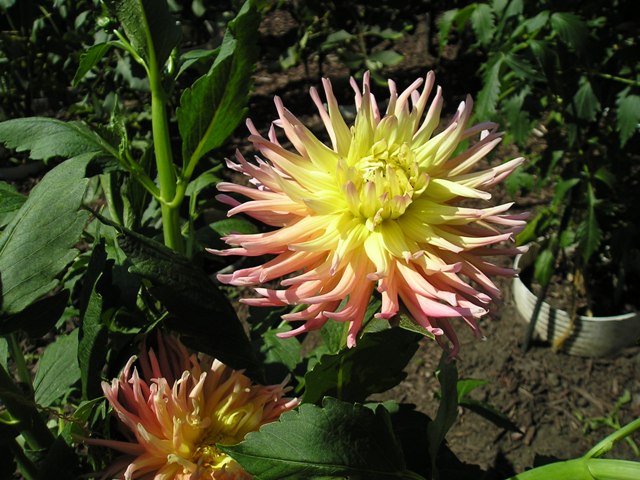
Start with this:
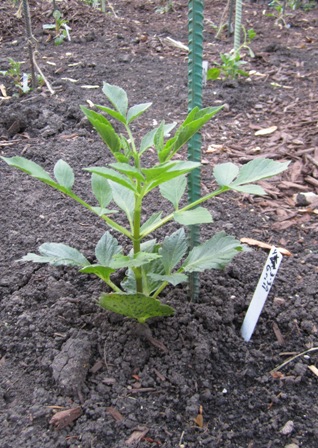
Or in our case, this:
This preview brought to you at 7:30 AM by Carol, who promises that Mike or I will write more tonight!
Transitioning, transitioning, transitioning…
It is now 9 PM and it is Mike’s turn to make good on my promise of ‘more dahlia information tonight’. He has planted 68 dahlias so far in the main garden, and he has more to plant there. Then he will move on the auxiliary garden for a few dozen more. Without further adieu, I give you Mike’s words of dahlia planting wisdom:
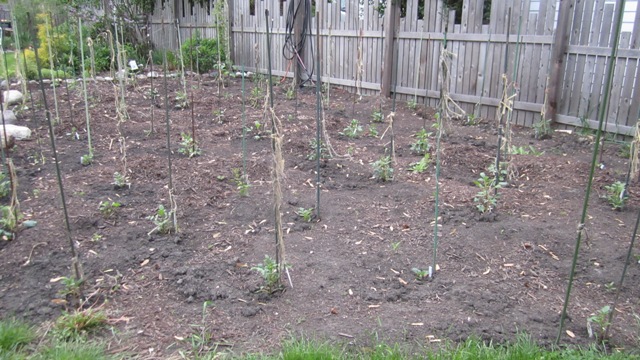
In the top photo, we see one of my goals…a full bloom of a dahlia named Alfred Grill. The second photo shows the starting point for the philosophy I use. The tubers were started in our basement months ago. The tubers sprouted shoots that were cut off and rooted. The rooted shoots have been slowly acclimated to the outside world. Hardening off like that is wise for all indoor started plants.
The planting starts by placing a 5 foot long piece of 1/2 inch rebar in the ground. I used to use 3/8 inch rebar, but it bent too easy when pounding the stakes in or removing them at the end of the season. Rebar that is 1/2 inch thick doesn’t bend very easily. The stakes are driven about 18 inches into the soil. The rebar is painted green, but this is only done so that it looks “pretty”. Carol prefers to not take photos of rusty metal if it can be avoided.
Only after the rebar is in do I proceed to planting. I dig a 6 inch deep by 6 inch wide hole right up against the rebar stake. A teaspoon of Osmacote is mixed into the soil at the bottom of the hole. Then the plant is placed into the hole. I sometimes lean the plant slightly toward the stake to make it easy to tie the plant to the stake when the time comes. Fill the voids around the plant with soil and compress slightly to remove air voids.
I also give the plant a healthy drink of water to help remove air pockets. Speaking of healthy drinks of water, take note of the weather forecast. If a dry spell is looming, before planting, I will actually submerge the plant in a bucket of water for a minute to be sure that the soil in the pot is completely drenched. I then let it drain for 2 minutes before sticking it in the ground. This prepares the plant to tolerate a complete drought for a week if needed. If you want to be fancy, add a little Miracle Grow to the bucket of water.
The marking tag you see in the second photo will be taped to the stake so I can identify the plant.
When the plant is about 12 inches tall, I loosely tie it to the stake so a windy day doesn’t mow down my beauties.
Kind of looks like a tomato garden doesn’t it? Just wait….’
Mike
By Carol Cichorski, on May 21st, 2011 Linda and I got free samples of Philadelphia Cooking Creme. I never really expected to like it. My gosh, it even sat in my refrigerator for a month before I figured I might as well use it. Let’s say I’ve had a ‘learning experience’, as I can see this Southwest Pasta Skillet becoming a staple in our house. This recipe is very much like one that came with the cooking creme, except I left out the cheese and added mushrooms.
1 lb boneless skinless chicken breasts cut into bite-size pieces
½ c chopped green peppers
½ lb mushrooms, sliced
1 can (14.5 oz) diced tomatoes, drained (with or without chilies)
1 pkg (10 oz.) frozen corn
1 tub (10 oz.) Philadelphia Santa Fe Blend Cooking Creme
2 c cooked rotini noodles
Sauté chicken, peppers, and mushrooms on medium high 6-7 minutes, or until chicken is done. Drain. Add tomatoes, corn and cooking creme; cook and stir 3 minutes. Add pasta. Stir, serve, enjoy.
A nice side
A simple spinach salad complimented this well – baby spinach, pine nuts, mandarin oranges, raspberry vinaigrette
Here is a link to the Kraft recipe page in case you’d like to explore some more.
By Carol Cichorski, on May 18th, 2011 I tried a mum experiment last fall. It was my justification for doing what I wanted to do anyway – buy mums! My quandary with buying mums in the autumn is that they don’t often come back for me. If I can find some this spring, I’ll plant them now. It will be cheaper. I will talk to them. I will water them. I will make them feel at home. I will encourage them to bloom beautifully this autumn and come back next spring.
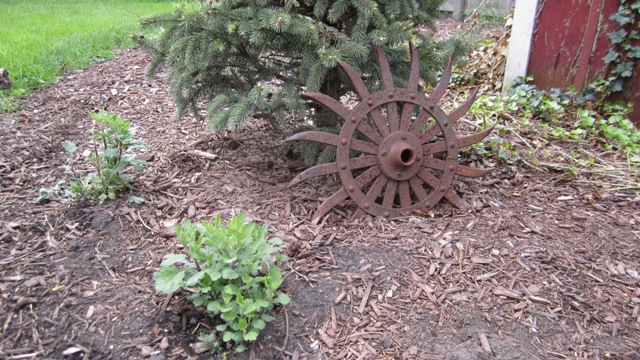
The question still remains: What did I do last year that 4 out of 5 came back? I think it was the watering. Watering is just not something I think of in the fall. I do it other times of the year for new plants, so it makes sense that I should be doing it for mums as well.
Here is what Wally from Pesches suggested, and what he subsequently wrote in an article on mums. I’m even reporting my actual results. (See how that sounds like an experiment; justification for buying plants.)
Site Selection
I chose a mostly sunny site that drained well. Wally suggested amending the beds if there was clay soil. I didn’t need to.
Planting
Wally’s planting is a little more laborious than my usual ‘plop it in’ philosophy. I dug the hole, diligently followed his instructions to fill and drain the hole, planted the mum, and then watered. I even followed his suggestion to use Dr. Earth’s Starter Fertilizer on some of them. I had a control group with fertilizer and a group without. (There I am again making it sound like an experiment.) I purposely planted some as they were blooming and some after they bloomed. I wasn’t so diligent about following his instructions to mulch. Basically, I didn’t.
Watering
Watering my mums is what I really think made the difference. Wally says mum plants drying out in late fall is the largest reason fall planted mums don’t return. We had a dry autumn, so I watered mine regularly.
Maintenance
I did deadhead them as Wally suggested, admittedly only because I was out there watering. I didn’t bother to mulch when the ground froze, or check for heaving. Come on, it was cold out there.
I will add Dr. Earth Bud and Bloom Fertilizer to some of them (ah, the experiment justification again) to see if it makes a difference. As always, I will also encourage branching and development of compact bushy plants by pinching back my mums till the 4th of July. I’ll even ask you to mark your calendars to pinch your mums, and remind you in an article later.
That’s my plan and I’m sticking to it!
Check back in the autumn. I’ll let you know how the mums are doing, and if it made a difference fertilizing some of them. You have to come back. Reporting my results to you makes this a legitimate experiment. That’s what justifies my planting more next autumn. Pretty devious, don’t you think?
By Carol Cichorski, on May 15th, 2011 If a groundcover is going be covering my ground, it better do more than just that. I expect my groundcover to bloom too. Candytuft must have gotten that message, because bloom it does.
Let’s try that paragraph again with a capital BLOOM:
If a groundcover is going be covering my ground, it better do more than just that. I expect my groundcover to bloom too. Candytuft must have gotten that message, because BLOOM it does.
Let’s try that paragraph again with an even more emphasized BLOOM:
If a groundcover is going be covering my ground, it better do more than just that. I expect my groundcover to bloom too. Candytuft must have gotten that message, because BLOOM it does.
Ok, I give up. No, no I don’t. I found a way to impress upon you just how beautiful perennial candytuft is. Continue reading Groundcover Envy – Candytuft on Garden Bloggers’ Bloom Day
By Carol Cichorski, on May 12th, 2011 I propose that there is no such thing as an ordinary tulip. This tulip is one of many many many we saw at Sun City in Huntley this weekend. At first glance, we saw just rows and rows of tulips. But Mike pulled the car over because he knew I’d see more than that through the camera lens. He was right. Now that you see this tulip close up, can you really say it fits the definition of ordinary? I certainly can’t. I vote for extraordinary. God does good work.
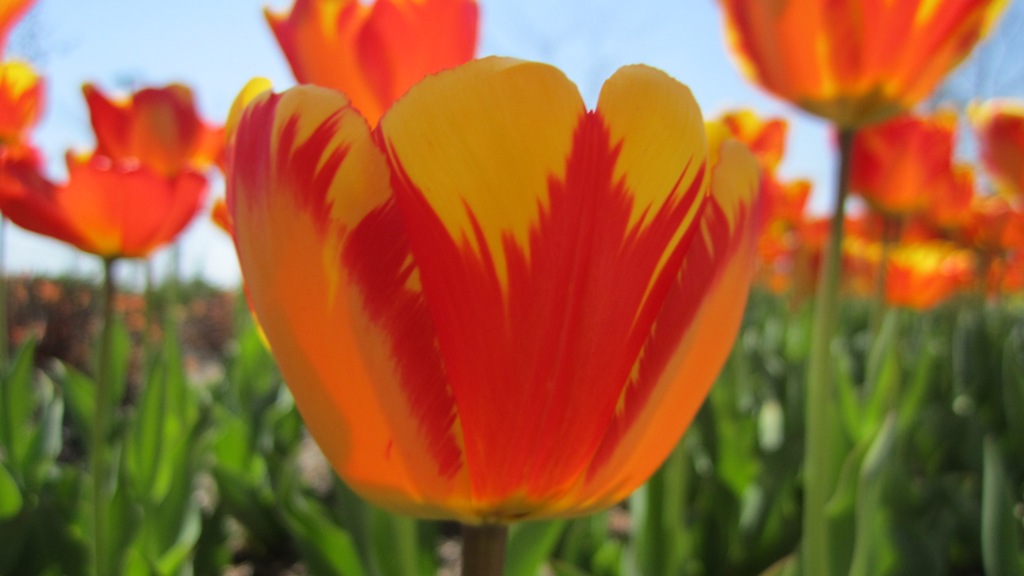
I’m entering this shot in the May Gardening Gone Wild’s photo contest. Like the April contest, the topic is light, with the twist being an emphasis on light in the macro or close-up world. Nailed it!
And now for you: Take a drive, get out of the car and look at a tulip close-up. You can thank me for the experience later.
I earned an honorable mention in the April photo contest!!!!
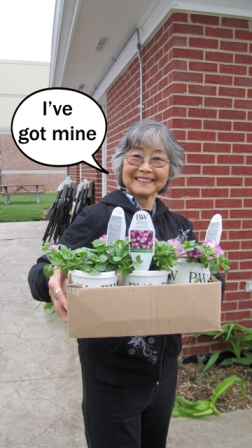
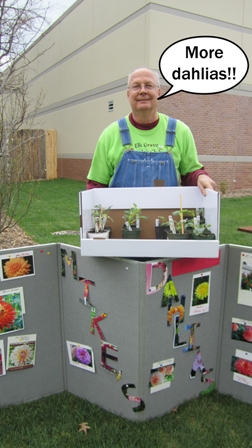
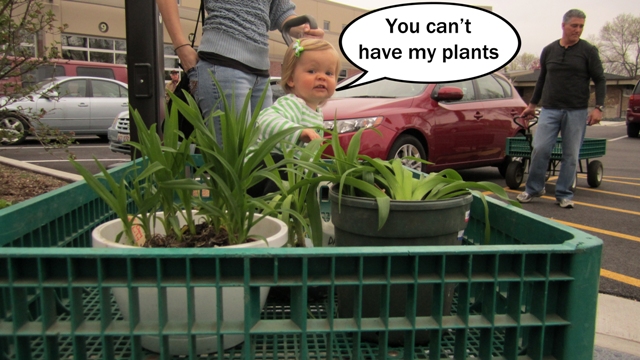
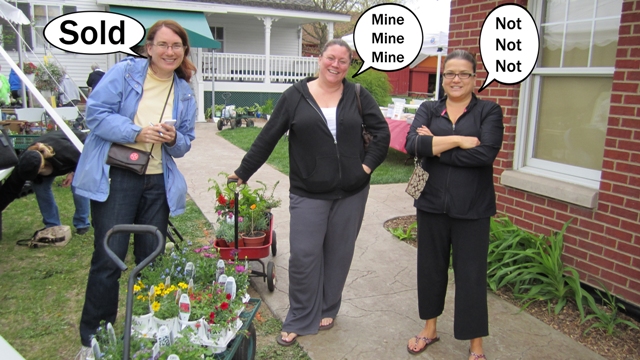
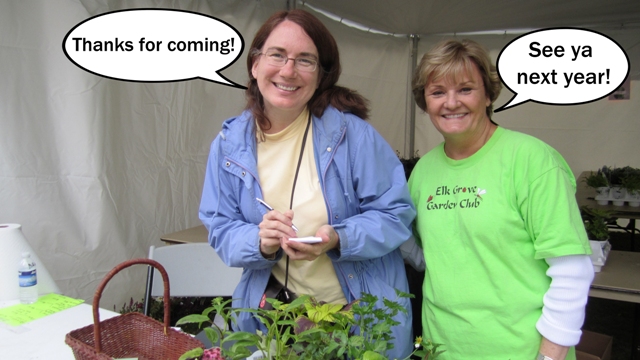
By Carol Cichorski, on May 9th, 2011 The Elk Grove Garden Club had their plant sale Saturday. As always, a bunch of characters.


More sales this weekend:
Saturday May 14, 10 AM – 2 PM
Central States Dahlia Society at Kinsch’s Garden Center
301 West Johnson Street
Palatine, Illinois
Saturday May 14, 9 AM – 2 PM
Rolling Meadows Hometown Plant and Craft Sale at Williams D. Aherns Building
3200 Central Road
Rolling Meadows, Illinois
By Carol Cichorski, on May 3rd, 2011 Mike is hardening off his dahlias and calla lilies for the plant sales that start this weekend. Each day we drag a few hundred plants outside then back in. It’s been too darn cold this spring to leave them out overnight. Soon, many of his babies will be ready for their new homes.
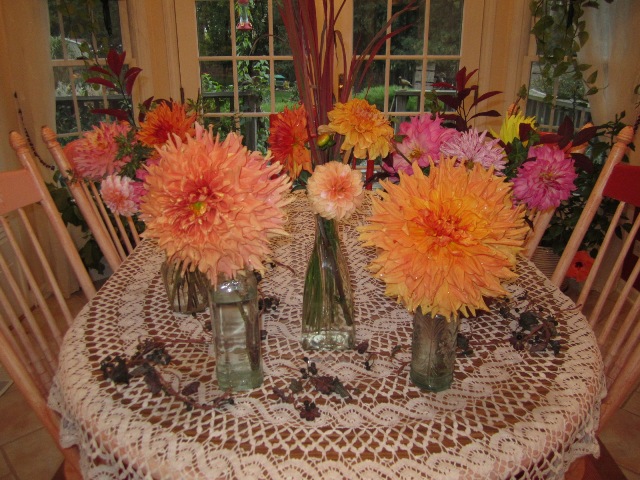 Here are a few sales that will have some of these beauties: Here are a few sales that will have some of these beauties:
Saturday May 7, 10 AM – 3 PM
Elk Grove Garden Club at the Farm Museum
399 Biesterfield Rd.
Elk Grove Village, IL
Friday/Saturday May 6/7, 10 AM – 4 PM
Central States Dahlia Society at Chicago Botanic Gardens
1000 Lake Cook Rd.
Glencoe, IL
Saturday May 14, 10 AM – 2 PM
Central States Dahlia Society at Kinsch’s Garden Center
301 West Johnson Street
Palatine, Illinois
Saturday May 14, 9 AM – 2 PM
Rolling Meadows Hometown Plant and Craft Sale at Williams D. Aherns Building
3200 Central Road
Rolling Meadows, Illinois
By Carol Cichorski, on May 2nd, 2011 I’ve so excited! I won an honorable mention in Gardening Gone Wild’s April photo contest. That’s huge for someone who had never even entered a photo contest before. To see more of the entries, meander on over to Gardening Gone Wild. You can also see more of the pictures I considered entering by looking at the original posting.

|
|
|


