Cherry French Toast

This recipe was originally done with blueberries at the White Lace Inn in Door County, Wisconsin. I used frozen cherries, brought them to a boil with a little water, added some corn starch mixed with water, and let them cool in the fridge for a while to thicken.

1 loaf white bread (no crusts)
1/2 lof French bred
6 c fresh/frozen blueberries (rinsed) (Or cherries as noted above)
8 oz. Cream cheese
1/2 c plain yogurt
1/2 c sugar
1 t vanilla
7 eggs
1 1/2 c milk
1 1/2 c half and half
1/2 t cinnamon
1/2 t ground nutmeg

Cut white bread into cubes and place into the bottom of a greased 9 x 13 pan. Sprinkle blueberries evenly over bread. Microwave cream cheese in bowl for 2 min. stir carefully and add 1/2 c sugar, 1/2 c yogurt , and 1 t vanilla. Spread over blueberries. Cut French bread into 1″ thick slices or break apart into small chunks like I did. Place over cream cheese. Beat eggs, milk, half & half, cinnamon and nutmeg and pour over bread. Cover and refrigerate overnight. Bake at 350 for 45 min. covered, then uncovered for approx 15 min. Let set before slicing.

Easily feeds 8.

Who Are These Bloggers?

It took me a while, but I finally posted something about Mike and me. We are in the About tab.

OhWhatAWednesday – October Daphne Sedum

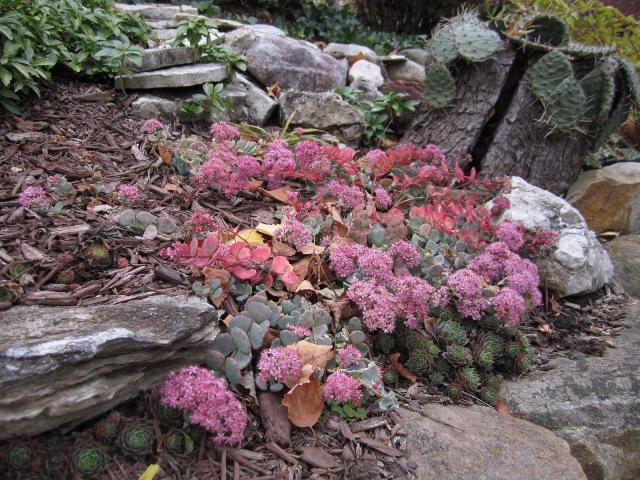
How about this for some surprising autumn color?


The bright pink is October Daphne sedum. It is such a cute little thing. We bought 5 small plants in 2007 and planted them amongst our ivy on the berm. I think some were eaten by the ivy, so we moved the sedum to another spot on the berm. Ivy does that. It just keeps on growing and expanding its territory. Most likely, if there is a plant war, ivy will win.

Notice that these plants are raised, and on an angle that will provide excellent drainage. The little green hens and chicks like that same hot and rocky environment. And you are seeing a pear cactus in a stump. The pear cactus is hardy in our zone 5. Placing it in the stump was advantageous for drainage, a must for cactus. I never water any of these plants.

The October Daphne sedum will stay short, about 6”, and it will spread. It won’t be invasive by any means. Another characteristic of sedums is the ease in which you can get more. Usually, just break off a stem and put it in the ground.

Birds and Butterflies

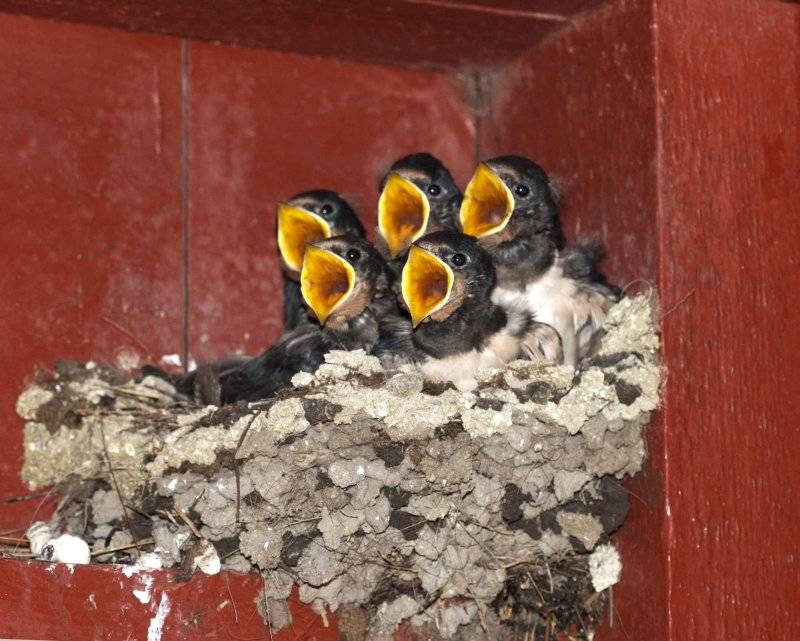
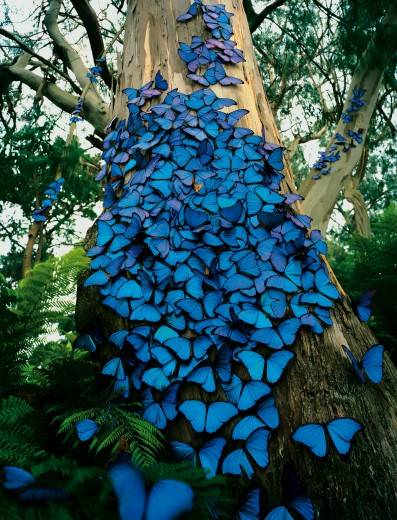
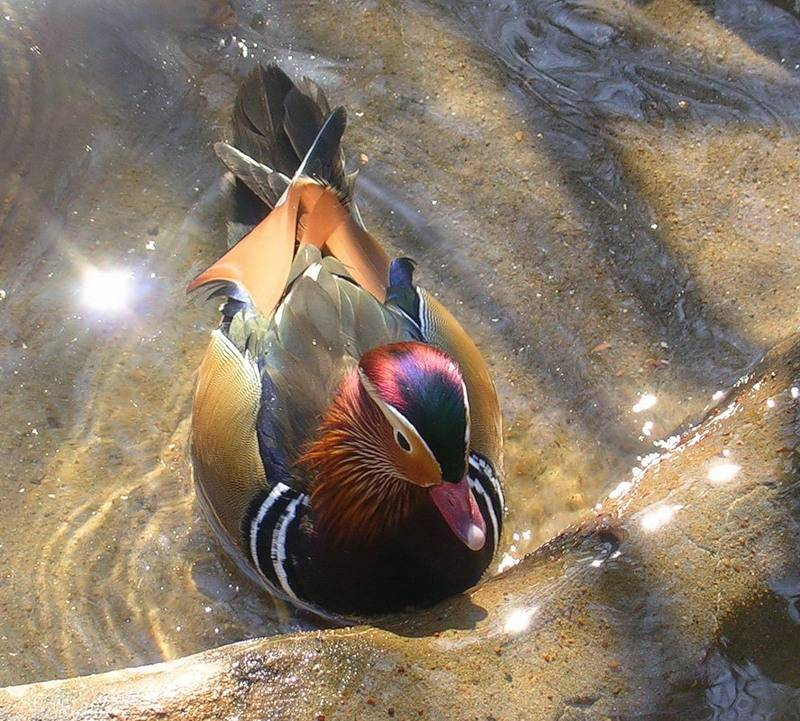
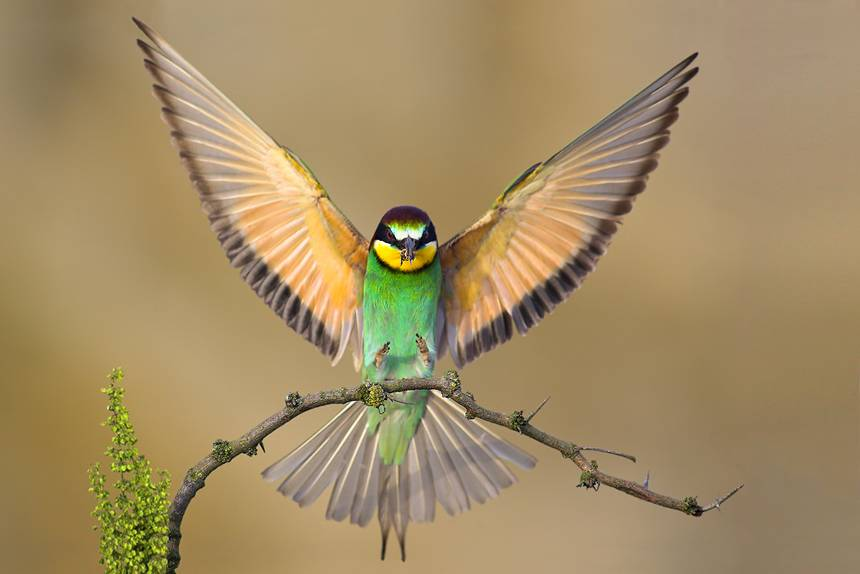
I couldn’t help but post some of the beautiful shots that Lucille sent. I don’t know where they came from. I do agree you that you should be sure to see the last one.

And a Smile from God. You just have to love God’s sense of humor….

Off With Their Heads!

Yes! An article by Mike…

Apparently the Queen of Hearts from Alice in Wonderland was a dahlia grower, and she knew what to do with dahlias after the first hard frost. The day after the first hard frost hit, I went out and cut the stalks of all the dahlias. I left about 6 inches of the stalk sticking out of the ground.

Freezing will explode some the cells of the leaves of the plant and the liquid from the cells can run down inside the hollow stalk right back to the tuber. This load of water can increase the chance of root rot in the tuber during Winter storage, and that is not a good thing. Cutting the stalk will allow the tuber to keep its normal moisture content, a good starting point for saving the plants for next year. If you can’t remove the top portion when cutting, at least pull it to the side, away from the rest of the plant, so that water won’t drip back into the lower portion in the ground.

After cutting, allow the tuber to rest in place for 2 weeks. The plant just had its head cut off….the ultimate “bad hair day”. It needs a little time to get over the shock.

Sorry to have to tell you this…after that they all have to come out of the ground and get packed away for Spring.

OhWhatAWednesday – Strawflower

Today’s ‘OhWhatAWednesday’ article could be titled ‘OhMyGoshItsSunday’. Sorry about the delay in posting this week’s article. The work world commanded every waking hour this week. I’ll make up for it. Right after this article, I’ll post one on dahlias. So here we go…

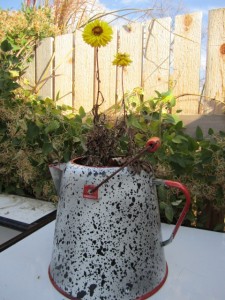
This simple strawflower is among the daring few flowers still looking good after the frost. There are still a few roses blooming, but this, this flower looks great. Don’t be deceived, it’s not really just starting to bloom. Take a look at those leaves. This plant is done. But the annual strawflower makes a great dried flower. And this one has done just that. Without the benefit of being hung upside down. Without the benefit of a dark dry airy environment. It just did what strawflowers do.

The strawflower is sitting pretty in this old coffee pot that I probably watered 3 times this summer, maybe 4. The top of the pot isn’t very wide, so it didn’t have a lot of rain collecting up. Like most of my pots, it has drainage holes. It apparently likes sun, and dry, because it thrived in that environment.

That makes the strawflower a no care plant, ergo it is in the Work Less category as well as the gardening category. (I like the word ‘ergo’. Ergo is a fun word to say.)

You can grow strawflowrs from seed, though I haven’t. Our basement is too full of dahlias in the Spring for there to be much room for anything else. Hmmm…speaking of dahlias. Another article coming in just a few minutes. As promised, it will be about dahlias. This time I got Mike to write one. Mike became the Vice-President of the Central States Dahlia Club today. Congratulations dear!

OhWhatAWednesday – The Mum Experiment

Interested in seeing the results of this experiment?  See 4 Out of 5 Mums Came Back

I posted an article a few weeks ago on mums. Basically
• I like them,
• Many of the ones I plant in the autumn don’t come back,
• and I would like them to.

You can see here that I do have some mums that come back, which is why I can talk about them in ‘OhWhatAWednesday’, my series on what looks good in my yard right now. But I want more!

Since I wrote that article, I have learned a lot from Wally at Pesches Garden Center in Des Plaines. I’ve known Wally for years, and he is quite the gardening expert.

So what am I going to do with this information? A mum experiment!

I have planted my new mums a variety of ways. Some went in early. Others went in yesterday after they bloomed in a pot. Some received Dr. Earth Starter fertilizer. Some did not. And I wrote down what I did to each plant.

My Outlook tasks include the spring items Wally mentioned, and a reminder to post an article May 1st with the results.

Some tips from Wally:

Site Selection
Make sure your beds drain well. Amend your beds with Back to Nature’s Flower Bed Conditioner, which will loosen clay soil, improve drainage and add fertility. Full sun is preferred, but they will tolerate a minimum of 4 hours of direct sun.

Planting
We need the plant to root. Dig the planting hole slightly larger and deeper than the root ball. Fill the planting hole with water, and then let it drain down to hydrate the surrounding area. Next, loosen the roots up. Use Dr. Earth’s Starter Fertilizer per the instructions on the bag. After planting, water well again to remove any air pockets.

After the second hard frost, mulch around the plant with 1 to 2 inches of mulch and compact the mulch in place. DO NOT place the mulch directly on the stem of the plant, this can cause crown rot.

Watering
Mum plants drying out in late fall is the largest reason fall planted mums don’t return. Mums need at least 1 inch of water a week. Warm weather requires daily watering. We’ve had a beautiful and dry fall. So I’ve been watering mine.

Maintenance
After the mums are done flowering, deadhead. When new growth appears in the spring, the dead branches can be cut off.

When the ground begins to freeze, check for heaving above ground, and put them back in. Add more mulch if necessary. Evergreen branches from Christmas trees make excellent winter mulch. Wait until the first snow cover, and then lay a double layer of branches over your planting beds.

In the spring, add some Dr. Earth Bud and Bloom Fertilizer to the soil around the returning mums and gently work it into the soil, water well. To encourage branching and development of compact bushy plants, it’s VERY IMPORTANT to pinch back your garden mums till the 4th of July.

That’s my plan and I’m sticking to it!
If you want to try Wally’s suggestions, Id suggest marking your calendar with the tasks he suggests – I did. Also mark your calendar for May 1st so you can stop back in at www.ohwhata.com to see how my plants did.

Pumpkin-a-day #27 – My Favorite Pumpkin!!

Here she is, my very favorite pumpkin. This is my grandchild Alexandria. She is almost a year and a half now, and helped me open my birthday presents this week. So cute, so well loved! She was full of ohhhhs and ahhhhs as she opened packages. We’d all cheer her on, she would laugh and do it all again. Made my day.

And now she is even in the running for a photo contest. Won’t you please vote for her at:
http://photos.parents.com/category/vote/photo/555519

Alex as a pumpkin last year, with her Mom, Heather, and my son John, her Dad.

Alex in a pumpkin…

Alex this year, big as a pumpkin

Pumpkin-a-day #26 – A Guy Just Has To Use Power Tools

  • This is how Mike carves a pumpkin – with a drill!
  • Pumpkin-A-Day #25 – Aon Pumpkin Contest

    The company I work for had a pumpkin decorating contest. Shazam – these folks really got into it! Be impressed, be really impressed. And the winners are … bet ya can’t wait … so here they are … right now … Continue reading Pumpkin-A-Day #25 – Aon Pumpkin Contest